
Hi Bestie,
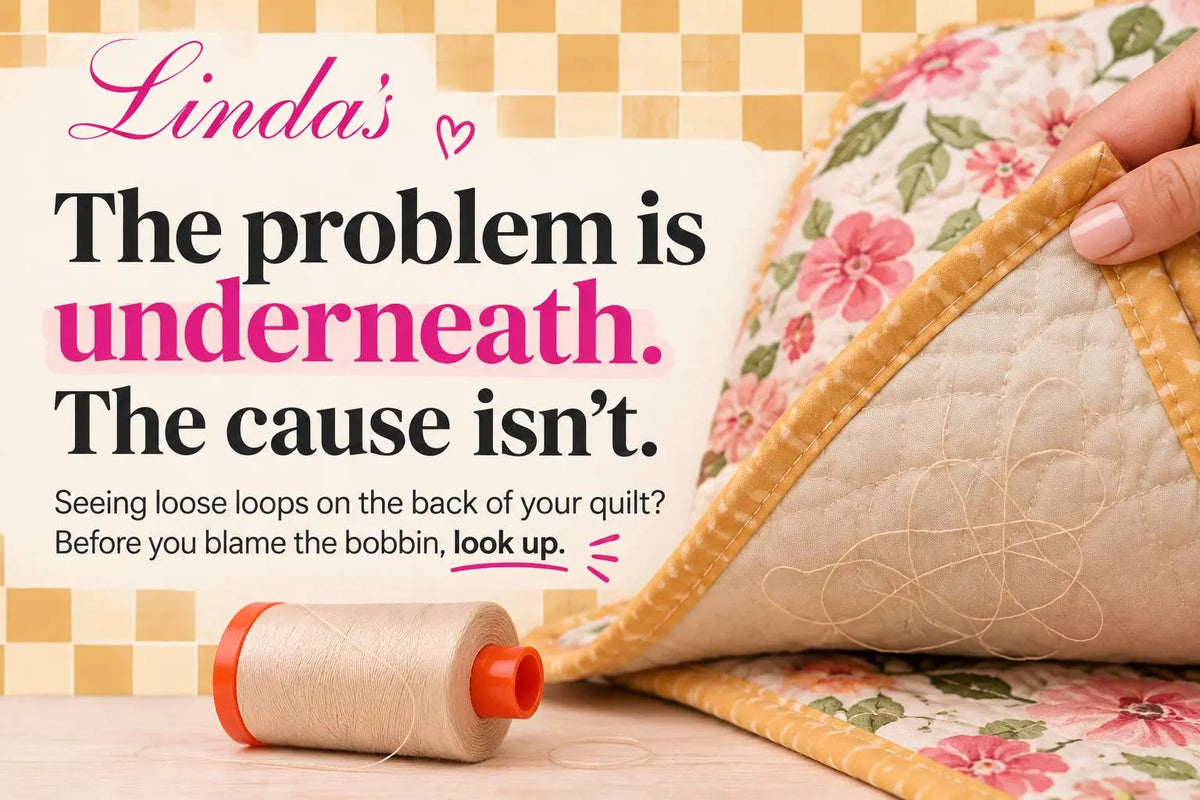
You flip your quilt over.
And there they are.
Those annoying little loops underneath.
Naturally, your first thought is probably:
“What is going on with my bobbin?”
But here’s where sewing machines get a little sneaky…
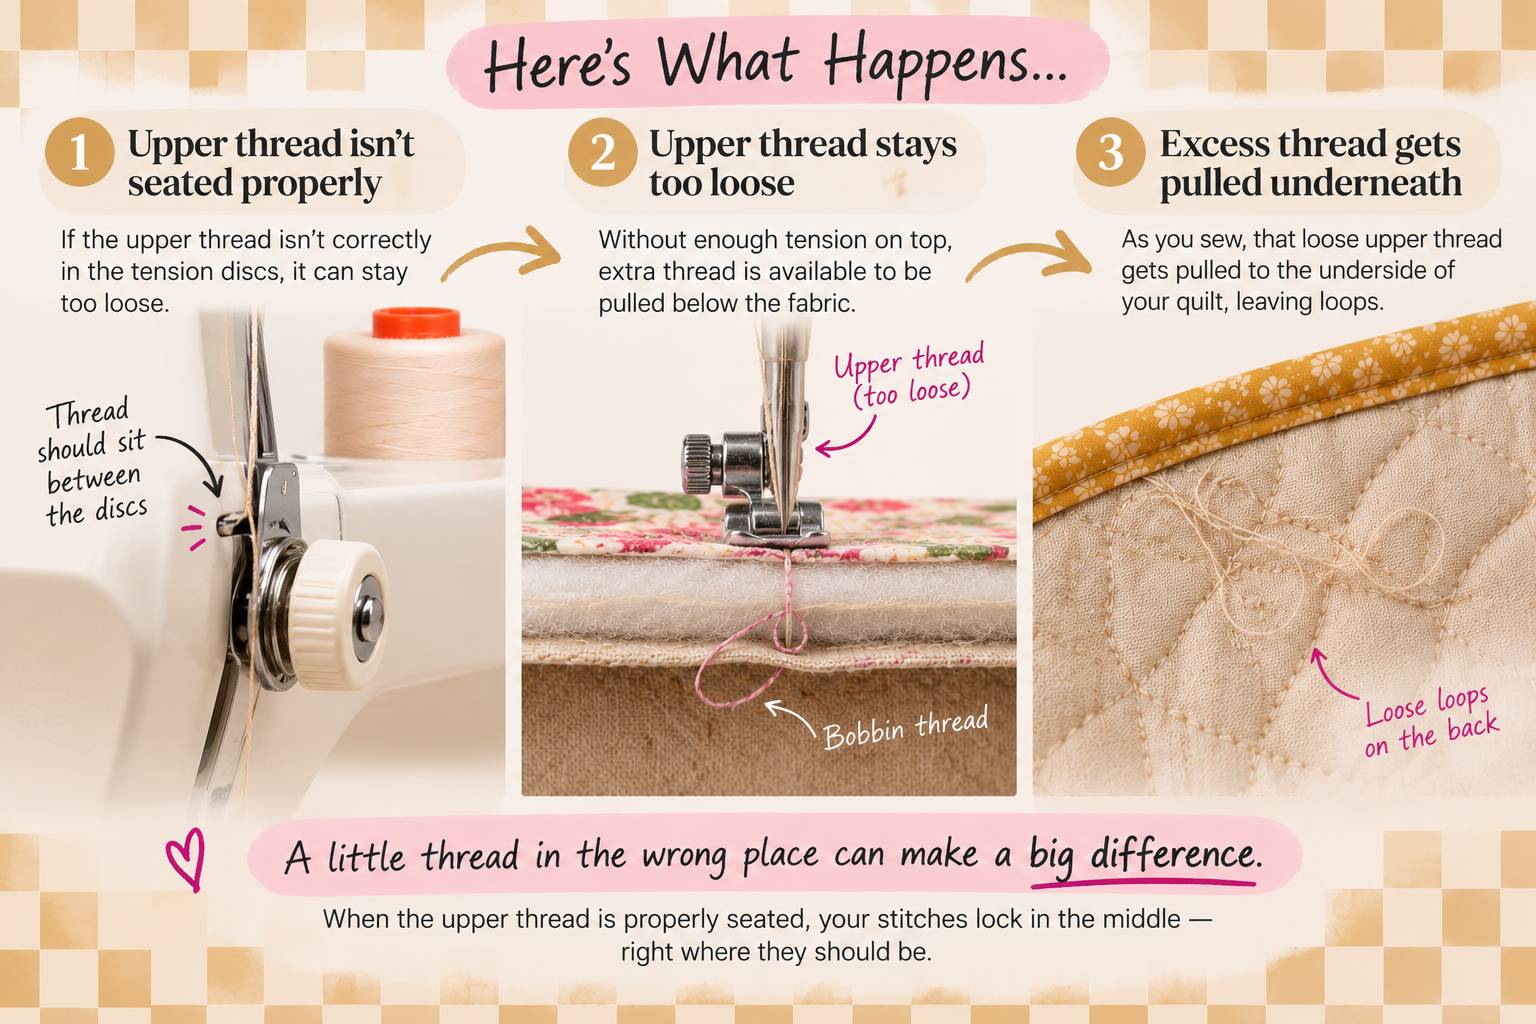
Those loops underneath can actually be coming from your TOP thread.
Yep. The problem shows up on the bottom, while the cause can be sitting above your quilt the whole time.
If your upper thread isn’t properly seated in the tension system, it can stay too loose. Then, as you sew, that excess thread gets pulled underneath your quilt.
And voilà: loops.
So… before you touch that tension dial
Raise your presser foot.
This opens the tension discs so your thread can properly settle between them.
Bring your take-up lever all the way up.
Then completely rethread the top of your machine.
And we mean completely.
Don’t just stare suspiciously at the thread path and decide it looks right. 😉
Take it out. Rethread it. Then test again on a scrap.
You might solve the whole problem without changing your tension settings at all.
Why the presser foot matters
On most machines, the tension discs are mechanically tied to the presser foot. Foot down = discs squeezed together. Foot up = discs open. If you thread with the foot down, the thread rides on the outside of the closed discs instead of between them, so the machine never grips it. Everything looks threaded, but the top thread is effectively at zero tension, and the bobbin thread wins the tug-of-war on every stitch. That’s what pulls the excess to the back and makes those loops. The take-up lever matters for the same reason: if the thread skips it, the machine can’t pull the slack back up between stitches.
Here’s the trick to remember
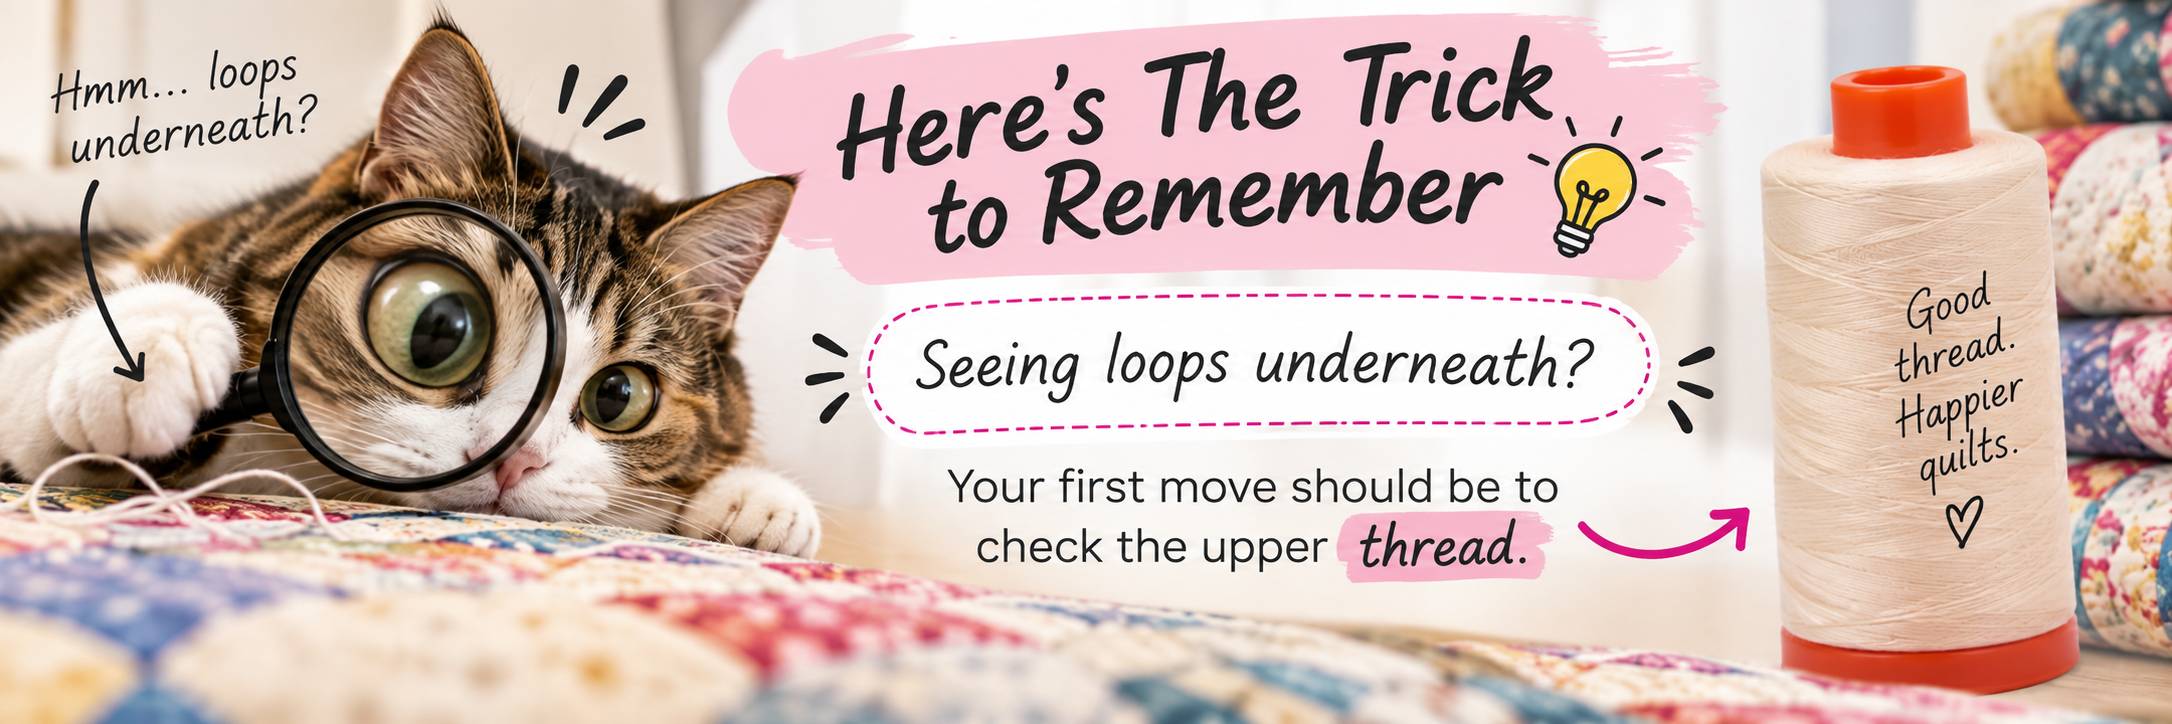
Seeing loops underneath?
Your first move should be to check the upper thread.
Because one of the most useful things you can learn about stitch tension is this:
Where the problem SHOWS UP
isn’t always where it STARTED.
Once you know that little rule, troubleshooting suddenly feels a whole lot less mysterious.
Remember,
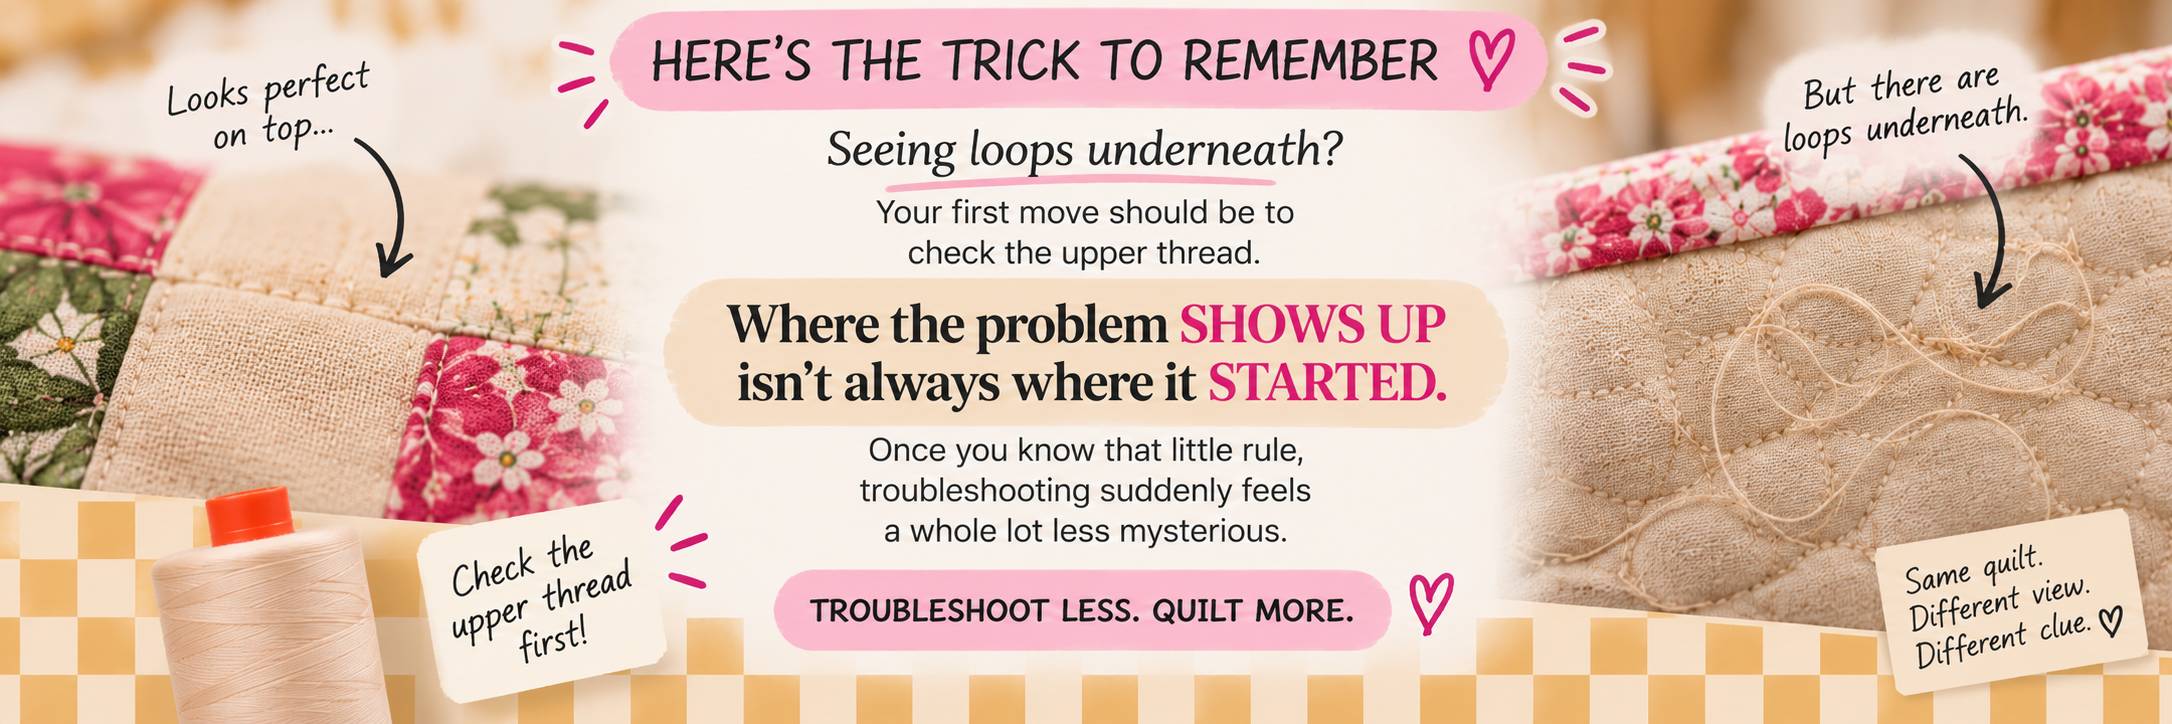
Where the problem shows up isn’t always where it started.
If you spot loose loops underneath your quilt, don’t immediately blame the bobbin or start turning tension dials. Check your upper thread first, rethread carefully, and test again.
Sometimes, one simple reset is all it takes to get those beautiful, balanced stitches back, and get you back to the fun part.
Still fighting your stitches after a full rethread? These might help: The Hidden Reason Your Machine Isn't Sewing Like It Used To, What Do Those Needle Numbers Actually Mean?, and Are You Using the Wrong Thread Weight?
Happy Quilting!
From Corey.
This week at Linda’s: the batting sale is on. Shop Quilters Dream batting or see everything on the Sales and Deals page.

And if today’s tip has you eyeing your thread stash, the King Tut cotton cones and Glide polyester are both longarm favorites that behave beautifully once they’re seated in the tension discs.
Frequently Asked Questions
Why are there loops on the bottom of my quilt?
Loops on the underside almost always mean the top thread has too little tension, not that the bobbin is wrong. When the upper thread isn’t seated between the tension discs, it stays loose and the bobbin thread pulls the slack to the back. Rethread the top of the machine with the presser foot raised before adjusting anything else. If the machine has been acting up in other ways too, see The Hidden Reason Your Machine Isn't Sewing Like It Used To.
Why does the presser foot need to be up when threading?
Raising the presser foot opens the tension discs. With the foot down, the discs are closed and the thread can’t slip between them, so it rides on the outside and never gets gripped. Threading with the foot up is the single most common fix for bird-nesting and bottom loops.
Should I adjust the bobbin tension if I see loops underneath?
Not first. Bobbin tension is set at the factory and rarely needs to change. Rethread the top completely, make sure the thread passes through the take-up lever, and sew a test on a scrap. Only if loops persist after a clean rethread should you nudge the top tension dial, and only a quarter-turn at a time.
Does thread type affect tension problems?
Yes. Heavier threads need slightly less top tension and a larger needle; fine threads need more. If you’ve just switched from a 40wt cotton like King Tut to a slick polyester like Glide, expect to rethread and retest. Thread Weight vs. Tex and The Thread Math Every Quilter Should Know explain how weight changes behavior.
What else causes loops or bird’s nests under the fabric?
After the upper thread, the usual suspects are a dull, bent, or wrong-size needle, lint packed in the tension discs or under the needle plate, and starting to sew without holding the thread tails. Check What Do Those Needle Numbers Actually Mean? for matching needle size to thread, and Master the Art of Quilting with Glide Polyester Thread for setup tips.


