

Hi Bestie,
Pressing isn’t just about making a block look flat.
You’re actually setting up the next seam.
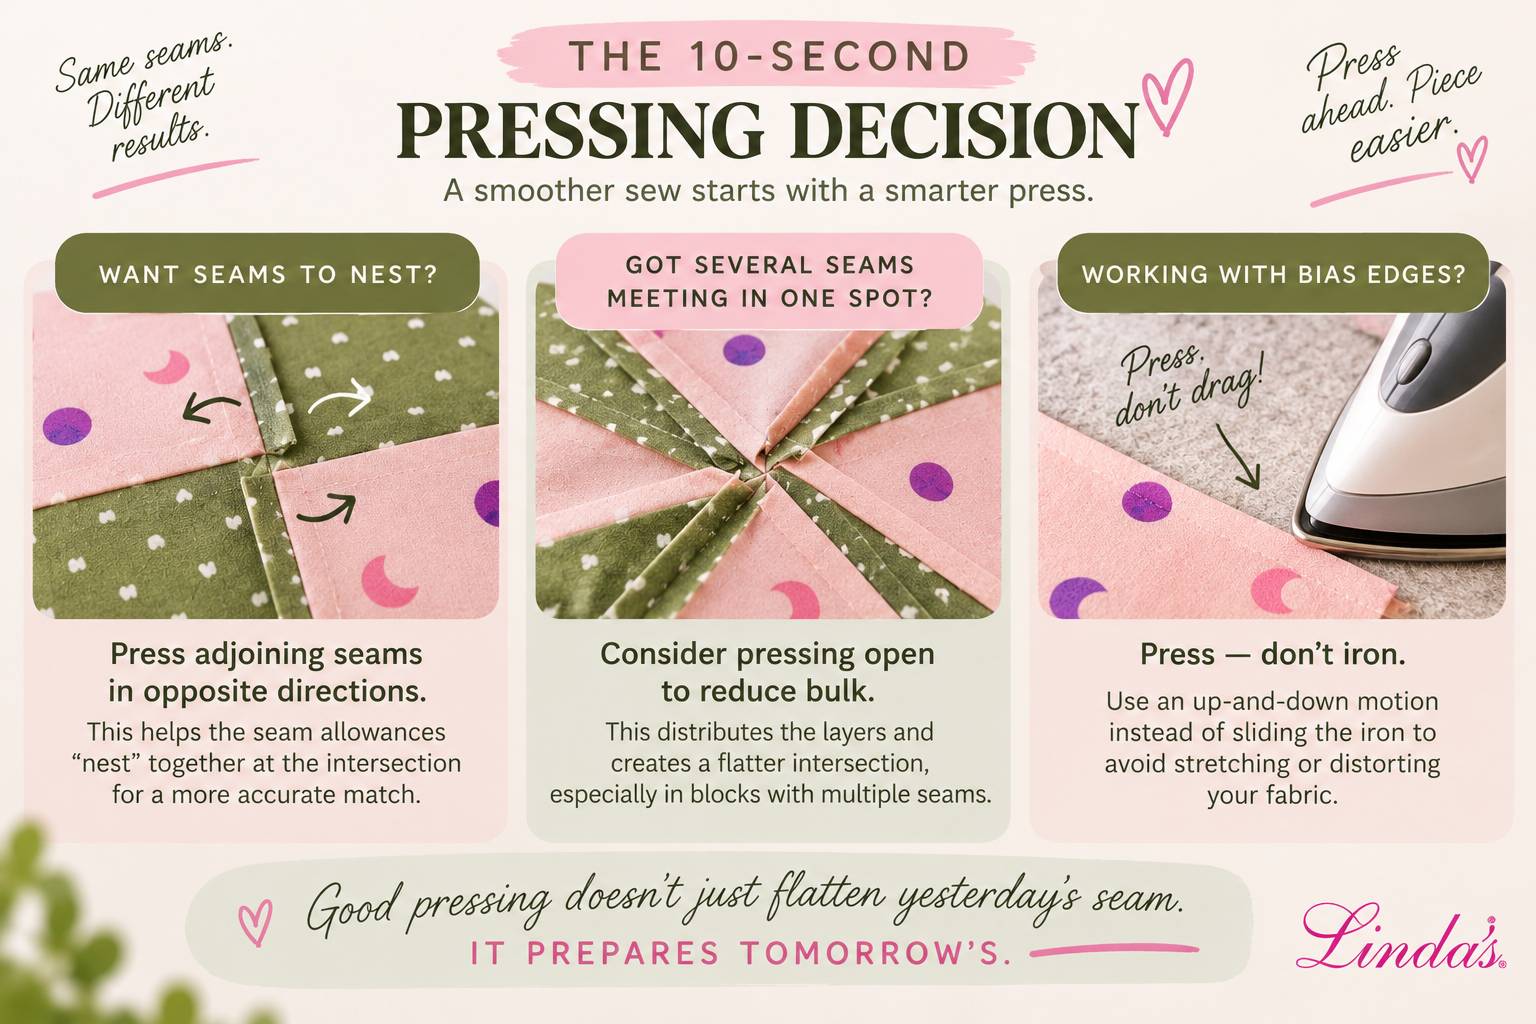
Press adjoining seam allowances in opposite directions, and they can “nest” together at the intersection, giving your fingers a natural stopping point as you line everything up.
Less sliding. Less guessing. Better-matched corners.
A better press starts underneath, too
Your pressing surface matters because you want controlled, even heat to help set the seam without repeatedly working the fabric with your iron.
Wool in Wool Pressing Mats helps retain heat beneath your fabric, so you’re effectively applying warmth from underneath while your iron works from above.
That can mean:
- Crisper, flatter seams
- Efficient pressing with fewer passes
- A firm surface for blocks and pieced units
Here’s why nesting works so well
When seam allowances are pressed in opposite directions, the folded edges create tiny ridges that meet and physically stop the pieces from sliding past one another.
You can actually feel that alignment with your fingertips before you sew.
Pin or hold the intersection at that point, then stitch through it without stretching the fabric.
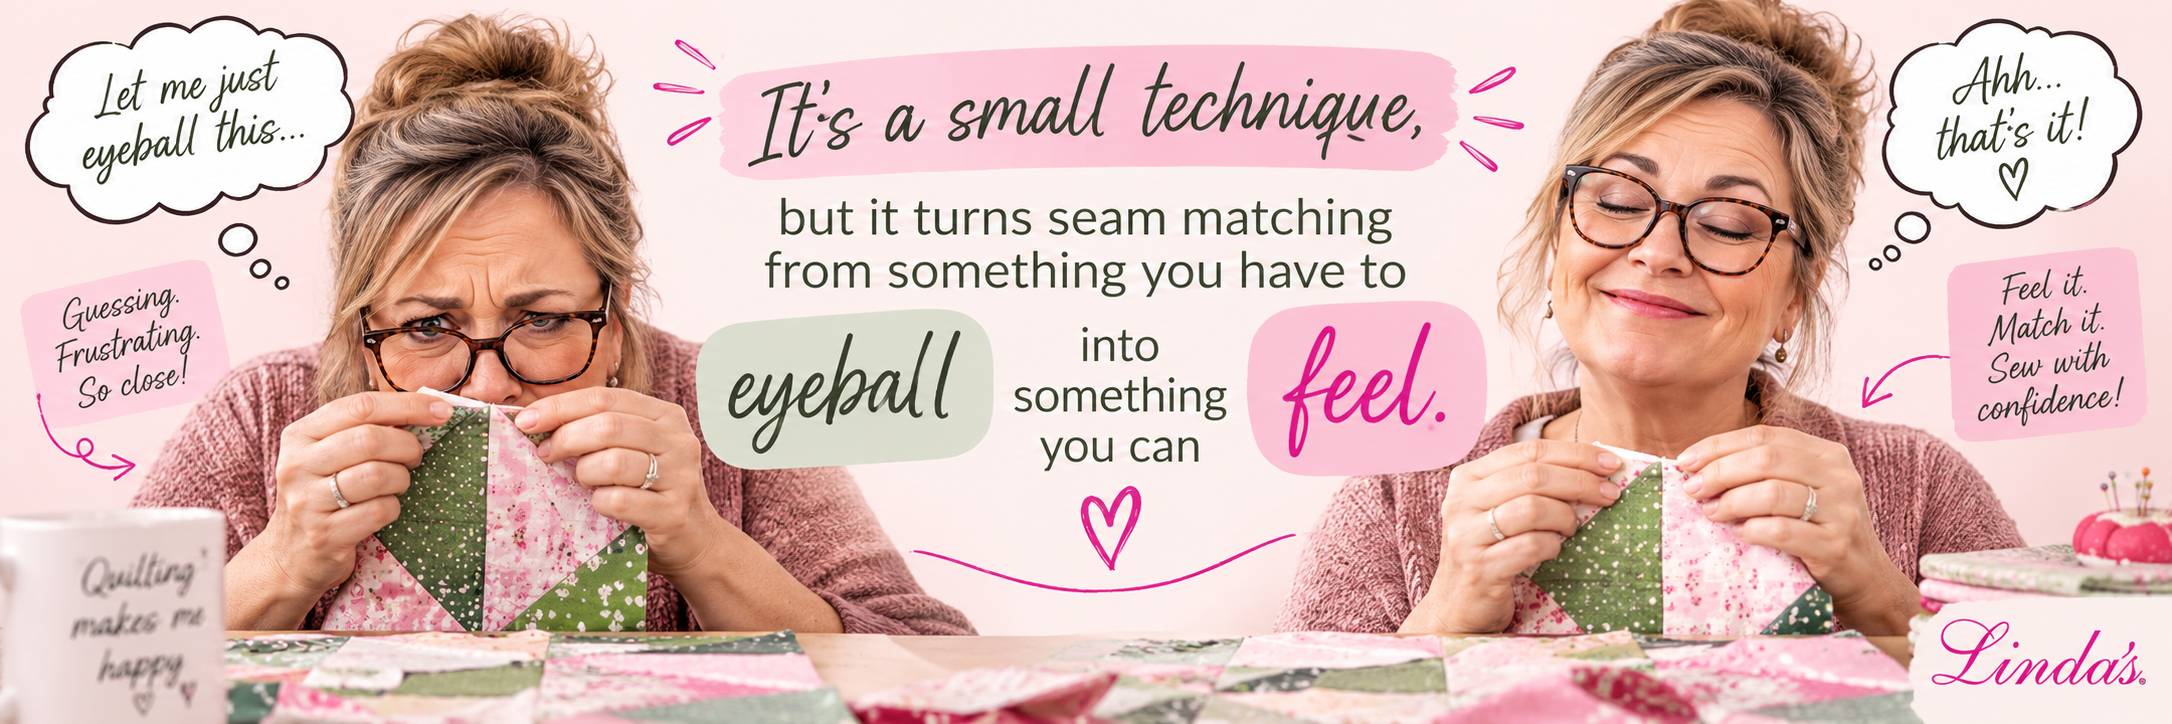
It’s a small technique, but it turns seam matching from something you have to eyeball into something you can feel.
Why wool holds heat (and why that matters)
Wool fibers are hollow and crimped, which traps air and makes a dense wool mat a poor conductor. When your iron comes down, the heat that would normally sink into a cotton ironing-board cover instead stays in the mat and radiates back up. The seam gets pressed from both sides at once, so the fibers set on the first pass instead of the third. Fewer passes also means less chance of stretching a bias edge or distorting a block that’s already the right size. That’s the real reason a wool mat feels like it “sets” a seam faster: it does.
Remember,
Pressing isn’t simply the step that comes after sewing, it’s part of preparing for the seam that comes next.
Before your iron touches the fabric, look at where the seam allowances will meet in the next step.
A few seconds of planning at the ironing board can save you from fighting bulky seams, shifting intersections, and mismatched points later.
If you want to go deeper on pressing, these earlier notes pair well with today’s: Are You Pressing Your Seams TOO Much?, Your Iron Is Only Doing Half The Work, and Bulky Binding Corners? Try This.
Happy Quilting!
From Corey.
This week at Linda’s: Shannon Cuddle and minky are on sale. See the Shannon Cuddle deal or browse everything on the Sales and Deals page. And if today’s tip has you rethinking your ironing setup, start with the wool pressing mats and our guide to pressing mats, ironMATIK boards, and quilting irons.
Frequently Asked Questions
What does it mean to nest seams in quilting?
Nesting means pressing the seam allowances of two adjoining units in opposite directions so that when you lay them right sides together, the folded ridges butt up against each other at the intersection. The ridges physically lock and keep the seams from sliding while you sew, which is why nested intersections match so reliably. For sashing and block assembly, see Mastering QISS Sashing.
Should I press seams open or to one side?
To one side when you want seams to nest and lock at intersections, which is most traditional piecing. Open when you have many seams converging (like an eight-point star center) and bulk matters more than the locking effect. Pressing open also removes the ridge, so you lose the fingertip alignment cue. Are You Pressing Your Seams TOO Much? covers how to avoid distortion either way.
Which direction should I press quilt seams?
Toward the darker fabric when there’s no other reason to choose, so the allowance doesn’t shadow through a light patch. But nesting takes priority: look at the next seam you’ll sew and press so that the allowances on the two pieces meeting there go opposite ways. Rows of blocks are typically pressed in alternating directions for exactly this reason.
Why use a wool pressing mat instead of an ironing board?
Wool retains heat instead of absorbing it, so the seam is effectively pressed from below as well as above. That sets seams flatter with fewer passes and less stretching, and the dense surface keeps small units from shifting under the iron. Wool also handles steam without getting soggy. Compare options in Wool Pressing Mats, ironMATIK and Quilting Irons at Linda’s.
How do I keep pressed seams from stretching or distorting blocks?
Press, don’t iron: lift and set the iron down rather than sliding it across the fabric. Set the seam first by pressing it flat as sewn, then open the piece and press the allowance in its final direction. Use a firm surface, minimal steam on bias edges, and let the block cool before moving it. If you’re working with borders, Before You Add A Border, Try This is the next step, and our quilting irons guide covers which irons give controlled heat.


