To press rayon challis without marking its finish, follow the fabric's care instructions first, start with your iron's lowest heat, and test on a scrap or a hidden seam allowance before the garment goes near it. Work from the wrong side with light pressure, lifting the iron rather than dragging it, use a clean press cloth for any pressing on the right side, and let each section cool and dry flat before you move it.
Use more heat, steam or moisture only when the fabric's care instructions allow it and a test piece has come through unchanged — no shine, no colour shift, no stiffened patch once it has cooled. A care symbol's temperature is a maximum, not a target, and fibre content alone does not set a safe temperature for every rayon challis: the care instructions for your fabric and the manual for your iron govern, and the scrap test supplements them — it never overrides them. And if the care instructions say do not iron, do not press it — even through a cloth. If the care information gives only washing and drying instructions, ask the retailer or supplier for ironing and steam guidance before pressing at all: the steps below apply only where ironing is permitted, and where that is unknown, obtain guidance first. Your iron's manual explains its controls, but it does not establish the fabric's safe ironing limit, and a successful scrap test is not supplier approval.

Why challis needs a gentle pressing routine
The featured examples in this guide are 100% rayon or viscose, Light in weight and Semi-Sheer, with no stretch — the specifications listed for those products, not a definition of every challis. Fabrics of that kind share handling traits that shape how they are pressed:
- Heat and pressure can flatten the surface into shine. A hot soleplate pressed hard onto the right side can polish an area flat so it catches light differently — an effect more visible on dark and solid colours.
- It can distort while warm and damp. Rayon is weaker wet than dry, and a fluid woven fabric can distort if dragged or handled while damp, so sliding the iron, or carrying a piece while it is still warm, can stretch an edge or a bias area out of shape.
- Layers underneath can show through. In a semi-sheer cloth, a seam allowance or dart pressed hard from the right side can leave a visible ridge on the face.
- Drape is the point of the fabric. Pressing here means setting seams flat and relaxing wrinkles, not forcing knife-edge creases at rising temperatures — a common route to a shiny patch.
What you need
- An iron whose manual you have checked, to identify its low-temperature setting and its steam controls. Care-label dots indicate standardised temperature limits; follow the fabric's care instructions and use the manual to select the corresponding setting on your particular iron.
- A press cloth: a clean, plain, undyed cotton cloth — cotton muslin or an old white pillowcase is suitable; silk organza is the see-through alternative that lets you watch the seam as you press. Avoid a synthetic cloth, which can soften under heat, and a printed or dyed cloth, which can transfer colour. A press cloth reduces the risk from direct contact; it does not make an unsuitable temperature or heavy pressure safe.
- A spray bottle of plain water, if care instructions allow moisture, for lightly dampening cloth or fabric.
- Scraps of the actual fabric, or a hidden seam allowance, for the heat test below.
- Optional but useful: a tailor's ham or seam roll for darts and curved seams — and a clear flat surface where pressed pieces can cool undisturbed.
Step 1: test the heat before the garment goes near it
Where ironing is permitted, set the iron to its lowest setting and let it reach temperature fully. Press a scrap, or the inside of a seam allowance, with brief contact, then let it cool completely and inspect it flat and at an angle to the light. If you see a glossy patch or a colour shift, feel a stiffened area, or notice a scorched smell, that setting is already too much for this fabric — stop there. If the test piece is unchanged and a wrinkle still will not relax, step the heat up a little at a time, testing again at each step, and only within what the fabric's care instructions allow. Never start at the top of the range and work down: damage done at a high setting cannot be undone at a lower one.
Step 2: press the cut flat before you lay it out
After pre-washing, press the whole cut before cutting anything: a wrinkle cut across becomes a cutting error. Work from the wrong side at the lowest effective setting, with the fabric dry or — if its care instructions allow — barely damp; a light mist can help relax creases without soaking a fibre that is weak when wet. Then leave the fabric flat until completely cool and dry before layout: a piece cut while still warm can measure differently once it settles. The full sequence is in how to prepare rayon challis before cutting — follow its washing and drying methods only as far as your own fabric's care instructions allow — and the layout rules that follow from it are in cutting rayon challis: grain, layout and handling.
Step 3: press seams as you sew
- Set the seam as sewn. Lay the seam flat exactly as it came off the machine and press it once, gently. This beds the stitches into the cloth before the allowances are moved.
- Open it or send it to one side. Gently finger-press the allowances apart before applying the iron, then press them open, or both to the side the pattern directs, working from the wrong side. Where the pattern permits, test which allowance direction makes show-through less noticeable under a semi-sheer layer.
- Touch the right side only through the cloth, with light pressure. If the seam still needs setting from the face, press through the press cloth. This can reduce the risk of shine; support the allowances from underneath to reduce impressions.
Throughout, use a lift-and-press motion: set the iron down briefly, lift it clear, move it, set it down again. Avoid sliding — sliding can drag and stretch a fluid weave, especially on the bias. Press each seam before another seam crosses it, while the allowances remain accessible and the bulk is easier to manage. Darts and curved seams go over the ham or seam roll, so the curve is supported while you press instead of being flattened against the board. Leave each pressed section flat until it is cool before you move, fold or hang it.
If something has gone wrong, check these possible causes
- A shiny patch on the right side: often a sign that heat and pressure have flattened the surface. It cannot reliably be pressed back out — which is why the scrap test and press cloth come first.
- Yellowing, a scorched smell, or a stiff patch: consistent with more heat than the fibre could take. Stop, drop to the lowest setting, and test again on scrap. Scorched fibre is damaged, not a fault more pressing will cure.
- The outline of a seam allowance showing on the face: can happen when a seam is pressed hard from the right side and the allowance edge imprints through a semi-sheer layer. Re-press gently from the wrong side, cushioning the allowance edge with a fold of the press cloth underneath.
- A wavy, stretched edge after pressing: can follow sliding the iron, or moving the piece while warm and damp. Let it cool flat and rest; steam held just above the surface, where care instructions allow it, may relax a mild wave, but a badly stretched bias edge may have to be re-cut or eased back into its seam.
- A crease that will not move: do not answer with the highest setting. If moisture is allowed, dampen lightly, press through the cloth at a low setting, and let it cool under the cloth. If it still will not move within the care instructions, accept a softer finish rather than risking the surface.
- Spots or tide marks after steaming: can follow too much water in one place. A fine mist gives more control than a steam burst; let the piece dry flat and fully before judging it.
What not to do
- Do not use your iron's highest (cotton or linen) setting on rayon, and do not press a blend at the setting for its hardier fibre — a blend is pressed for its most heat-sensitive fibre, within its care instructions.
- Do not skip the press cloth on the right side, and do not press over pins.
- Do not use starch or sizing as a remedy for pressing marks or stubborn creases. It can change the fabric's hand; use it only if it is compatible with the fabric's care guidance, and only after testing.
- Do not hang or fold a piece still warm or damp from pressing.
Shop challis fabrics
Browse the challis fabrics collection — it includes rayon, viscose and other challis, so check each listing's fibre content. The featured examples below illustrate lightweight, semi-sheer rayon and viscose challis; their specifications do not establish a safe pressing temperature or steam setting:
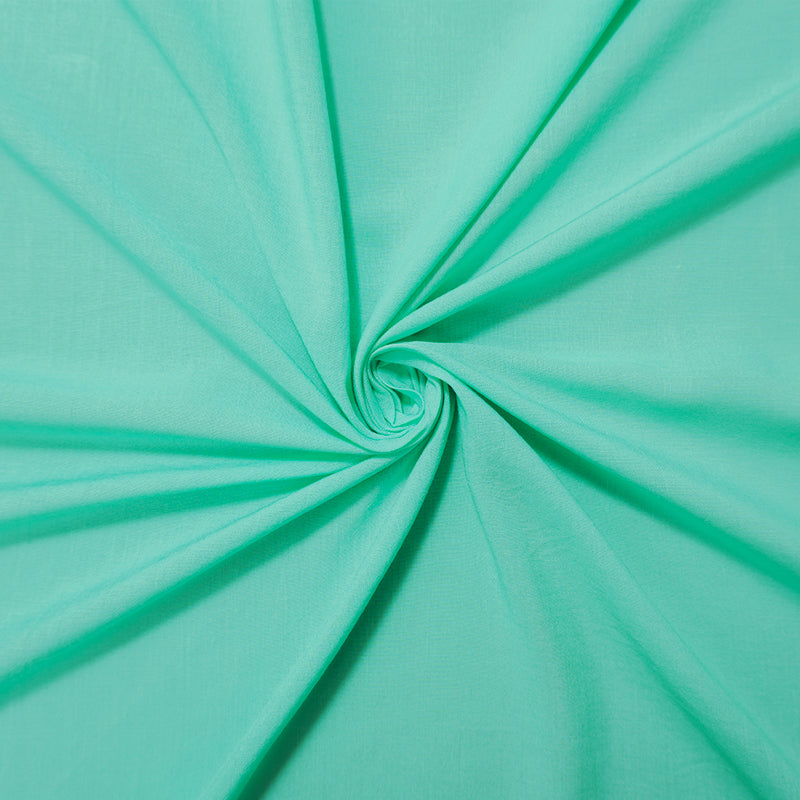
- Light Green Rayon Solid Challis — listed as 100% rayon, 55 inches wide, Light, Semi-Sheer, no stretch: a pale solid for blouses and dresses.
- Aegean Blue Rayon Solid Challis — listed as 100% rayon, 54 inches wide, Light, Semi-Sheer, no stretch: a mid-tone solid in the same weight class.
- Pink Rayon Stripe Slub Challis — listed as 100% rayon, 58 inches wide, Light, Semi-Sheer, with a matte slub stripe: the widest of the four, with a surface texture to preserve rather than flatten.
- Black-White Famous Designer Viscose Daisy Printed Challis — listed as 100% viscose, 56 inches wide, Light, Semi-Sheer, matte daisy print: the print option among the featured examples.
For the press cloth, use a plain cotton cloth from your own sewing room as described above.
Care and limitations
Wash the finished garment as its care instructions direct, and — where those instructions permit ironing — press it afterwards with the same routine: wrong side, lowest effective setting, press cloth on the right side, and let it cool and dry before wearing or storing it. None of the four featured listings provides an ironing temperature, so do not treat washing guidance as permission to use heat or steam. Where ironing guidance is missing, ask the retailer or supplier before pressing; your iron's manual explains its controls, but does not establish the fabric's safe ironing limit. References: the temperature limits in this guide follow the GINETEX care symbols (the care label, not fibre content alone, sets the maximum ironing temperature); the pressing technique — lift-and-press rather than sliding, setting a seam before pressing it open or to one side, and using a press cloth on fabrics that can mark — follows the method set out in Pressing vs. Ironing in Sewing. No challis sample was pressed or photographed for this guide, and iron dials vary in accuracy from model to model — the cooled scrap test is how you check a setting against your own iron and fabric, within the limits the care instructions set.
Keep reading
More from Apparel Fabric School. The step before this one is seams and edge finishes for rayon challis, which produces the seams this guide presses, and the settings behind them are in choosing needles and thread for rayon challis. The foundation piece is how to choose rayon challis by weight, opacity and season. With pressing settled, the next decision is what goes underneath the garment — lining and interfacing for rayon challis (a forthcoming guide in this series).