
Hi Bestie,
You know that frustrating moment when your quilt top is perfectly pieced, your backing is loaded, and everything looks smooth…
Until your machine reaches a bulky backing seam?
That little ridge can make a big difference.
Why a Backing Seam Turns Into a Ridge
When backing seams are pressed to one side, multiple layers of fabric stack on top of each other, creating a raised ridge.
And when your quilting stitches cross that ridge, the extra thickness can make it harder to maintain a smooth, consistent finish.
If you've read Those Seams Are Fighting You, you already know how much a stacked seam allowance can throw off your piecing. The same thing happens underneath the quilt — you just can't see it until the needle hits it.
The Fix? Press Those Backing Seams OPEN
Instead of pushing both seam allowances to one side, try this:
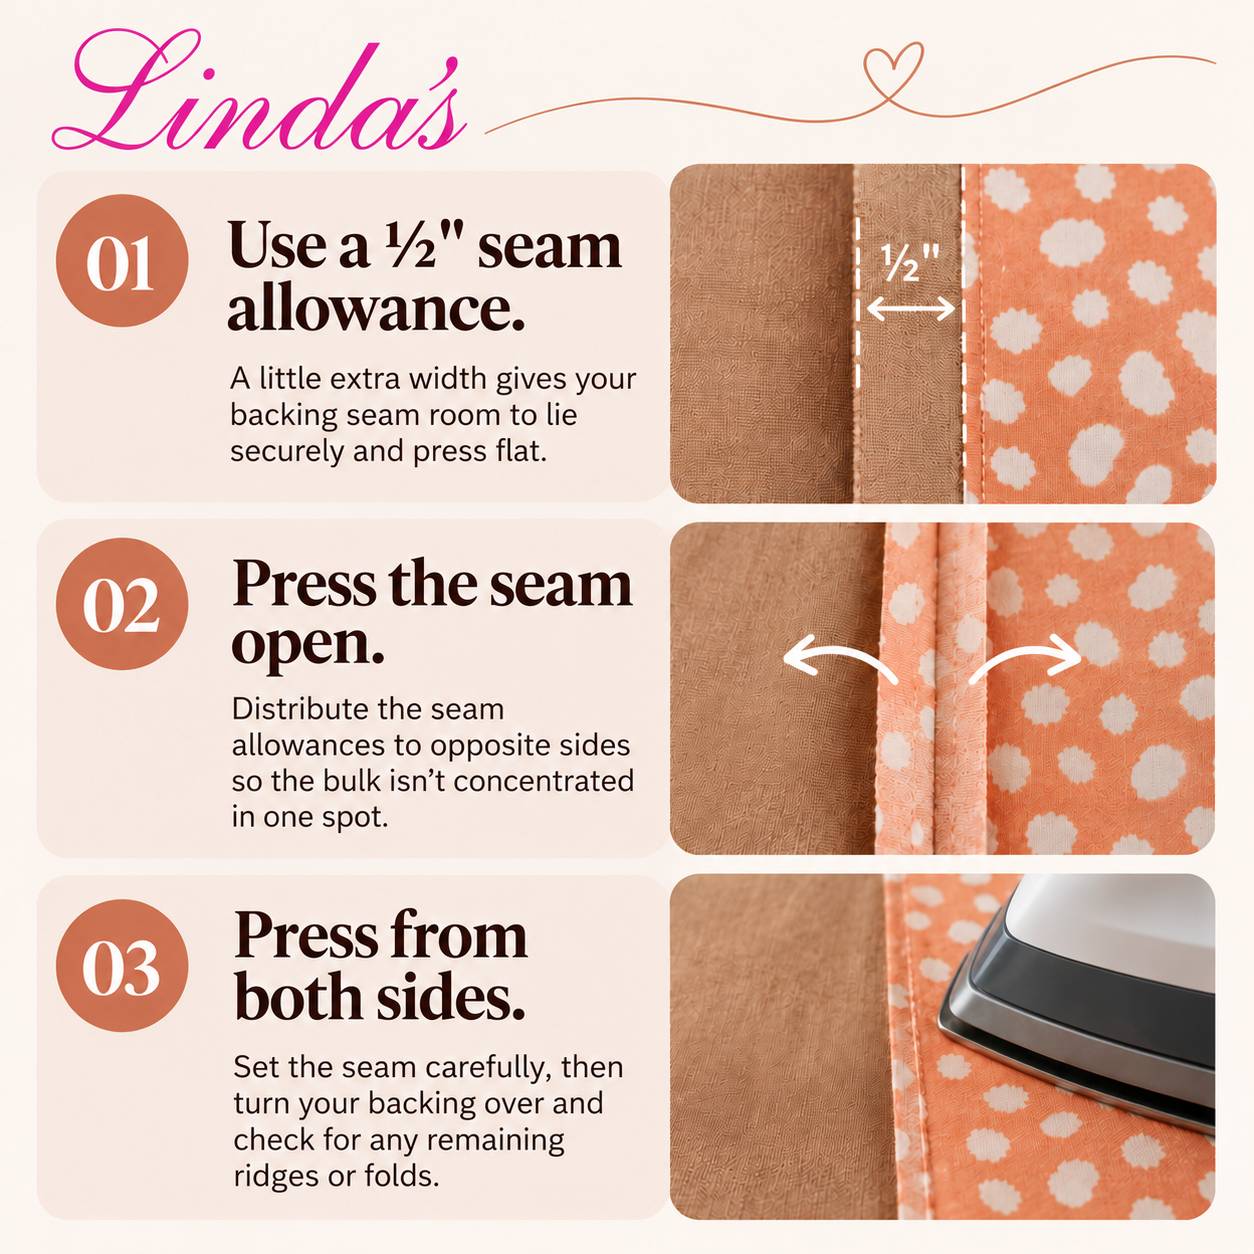
- Use a ½" seam allowance. A little extra width gives your backing seam room to lie securely and press flat.
- Press the seam open. Distribute the seam allowances to opposite sides so the bulk isn't concentrated in one spot.
- Press from both sides. Set the seam carefully, then turn your backing over and check for any remaining ridges or folds.
Why Pressing Open Works
Here's the simple math underneath it. A seam pressed to one side stacks three layers of fabric at the seam line: the backing itself plus both seam allowances on top of each other. A seam pressed open spreads those same two allowances to either side, so your needle only ever passes through two layers at any one point. Half the stack at the seam line means half the bulk your hopping foot has to climb — and that's the ridge you can feel with your fingertips before you ever load the quilt.
A wider ½" allowance matters for the same reason. A skinny ¼" backing seam pressed open leaves very little fabric to hold the stitches, and under the tension of a loaded frame it can fray or pull apart. The extra width keeps the seam secure once it's lying flat. (If you've ever over-tightened a backing on the frame, The "Perfectly Tight" Backing Mistake explains why that stress shows up at the seams first.)
The Result?
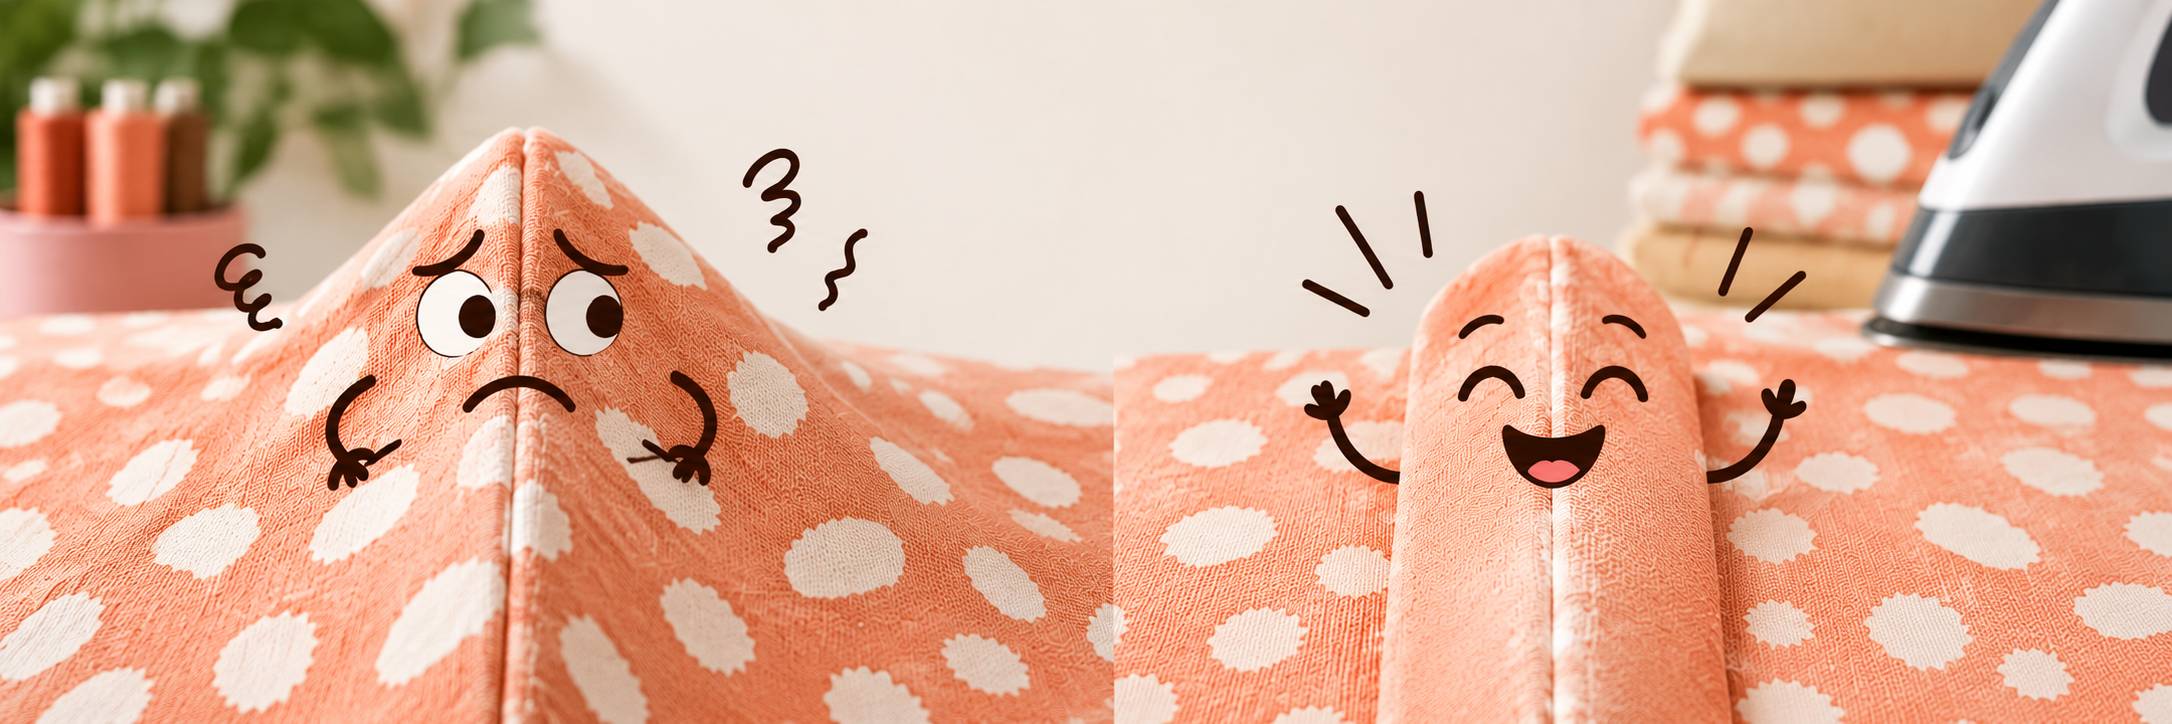
A flatter backing seam, less concentrated bulk, and a smoother surface for your quilting.
Because sometimes, the difference between a frustrating quilting session and a beautiful finish isn't what you do on top of the quilt.
It's what you do underneath it.
And if you'd rather skip backing seams altogether, that's exactly what 108" wideback fabric is for — one piece, no seam, nothing to press. Corey's Moda Grunge Natural Creme wideback guide walks through one of our favorites.
Remember,
Before loading your backing, run your hand along each seam. If you can feel a raised ridge, your machine will have to stitch over that extra bulk, too. Taking a minute to press those seams open and check for lumps can make all the difference between a frustrating quilting session and a beautifully smooth finish.
A good hot iron does most of the work here — Your Iron Is Only Doing Half The Work covers the pressing habits that make a seam actually stay flat, and if you tend to overdo it, Are You Pressing Your Seams TOO Much? is worth a read. Then, once the backing is flat, Don't Load the Quilt Without a Plan picks up right where this leaves off.
Happy Quilting!
From Corey.

We've put a spell on the prices: save up to 30% on Halloween fabrics while they last. Shop the spooky Kitty Loves Candy Poppie Cotton collection, or see everything that's marked down on our Savings page.
Frequently Asked Questions
Should quilt backing seams be pressed open or to the side?
For quilt backing, press the seams open. Pressing to one side stacks both seam allowances on top of each other and creates a raised ridge that your quilting stitches have to climb over. Pressing open spreads the allowances apart so the backing lies flat under the needle. For piecing the quilt top, pressing to the side is still common because it lets seams nest, but the backing has no seams to nest, so flat wins.
What seam allowance should I use for a pieced quilt backing?
Use a ½" seam allowance for backing seams rather than the usual ¼". The wider allowance gives the seam enough fabric to stay secure under the tension of a longarm frame once it's pressed open, and it's easier to press flat. Trim the selvages off before sewing so the seam doesn't pucker.
Why does my longarm skip stitches or stutter at the backing seam?
A backing seam pressed to one side creates a sudden change in thickness that the hopping foot and needle have to clear. That bump can cause skipped stitches, a wobble in the quilting line, or uneven tension right at the seam. Pressing the seam open, and pressing it from both sides, removes most of the ridge. If skipped stitches continue elsewhere, Skipped Stitches Start Right Here covers the other usual causes.
How do I avoid backing seams altogether?
Use 108" wideback fabric. A single width of wideback covers most quilts up to about king size with no seam at all, so there is nothing to press and nothing for the machine to stitch over. It's also faster than piecing a backing from standard 44" yardage.
Should I press backing seams before or after loading the quilt on the frame?
Before. Once the backing is on the frame you can't get an iron to it properly, and any ridge is locked in under tension. Press the seams open, press from the back and the front, then run your hand along each seam to check for remaining ridges or folds before you load. If you want the full checklist for the loading step itself, read Don't Load the Quilt Without a Plan.


