

Hi Bestie,
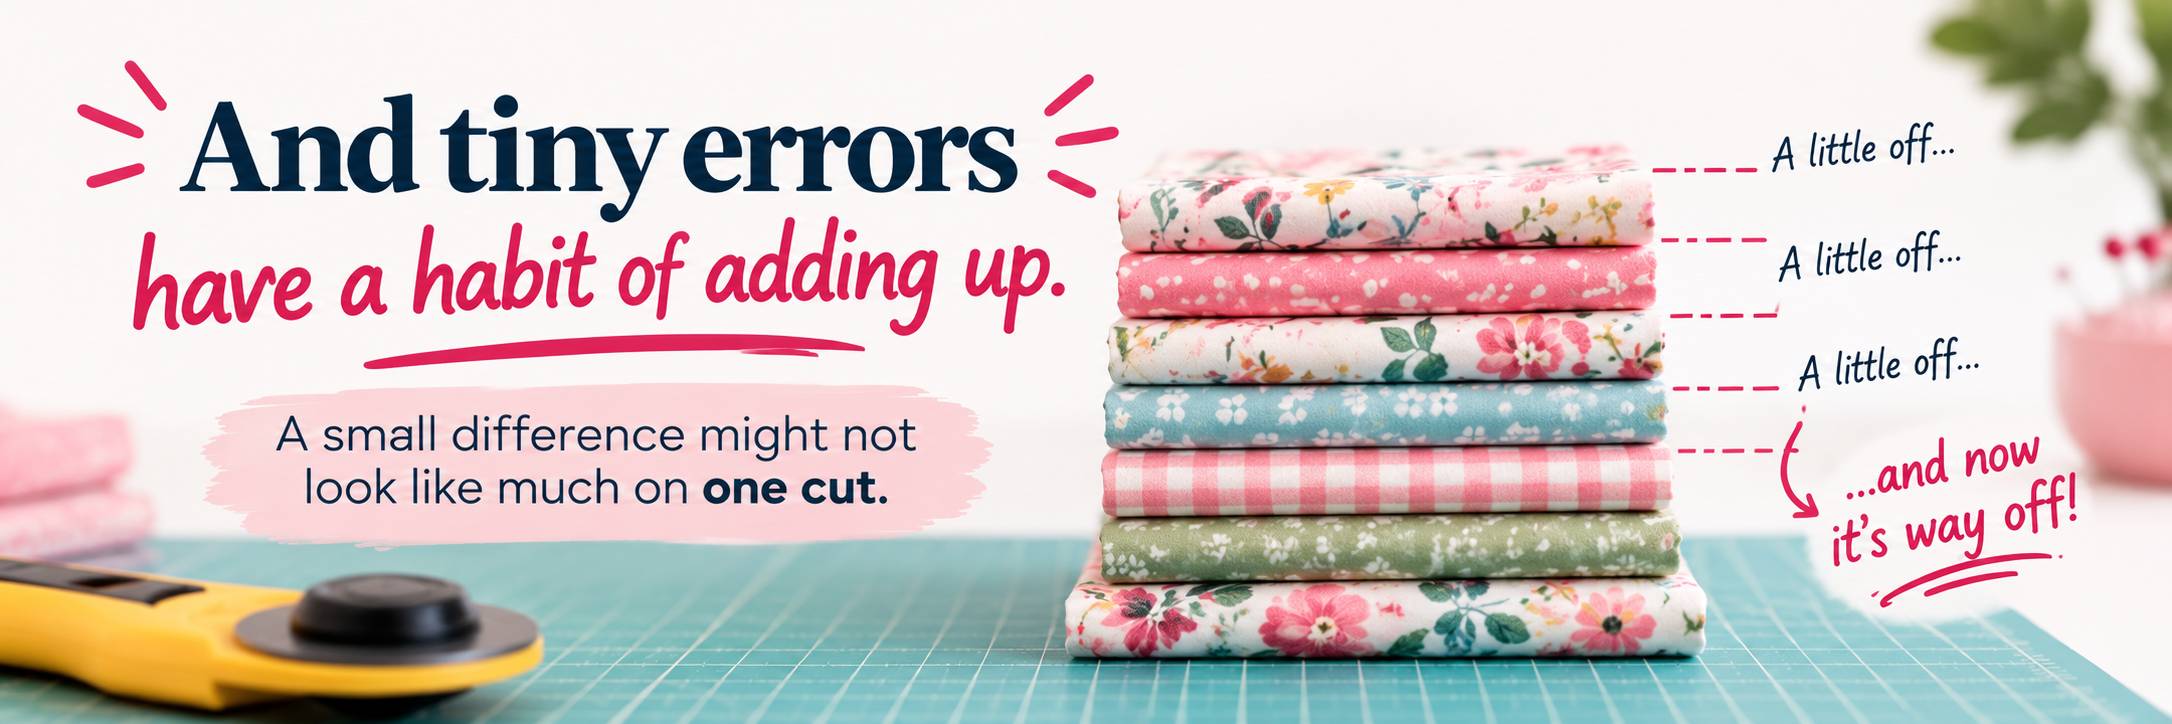
Ever measure twice, make your cut… and somehow it’s still a little off?
Your ruler might be the reason.
The sneaky part about ruler markings
Here’s the sneaky part: on some rulers, the measuring marks don’t begin exactly at the physical edge.
There can be a tiny bit of space between the edge and where the actual measurement starts.
So if you automatically line up the edge of the ruler with your fabric, your measurement can be off before you’ve even read the number.
Try this before your next cut
Pick up your favorite ruler and look closely at the end.
Does the zero line sit directly on the edge…
or slightly inside it?
It takes two seconds to check… and you might discover you’ve been measuring from a different starting point than you thought.
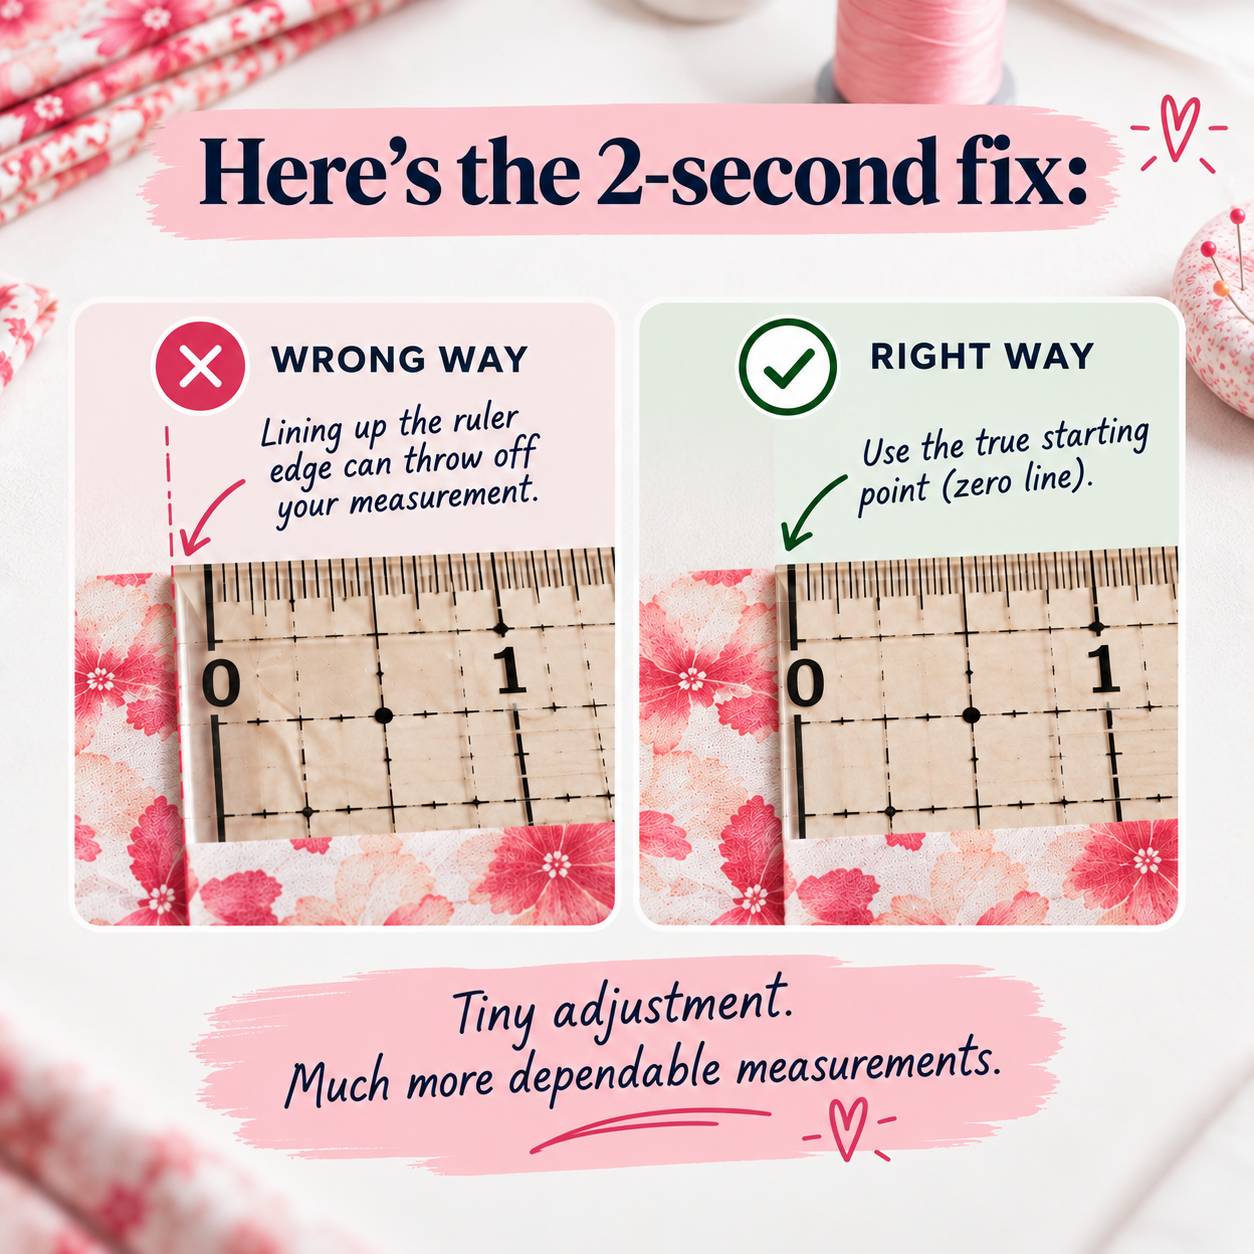
Here’s the 2-second fix
Before you measure, glance at the end of your ruler and find where the markings actually begin.
That’s your true starting point. Line that up with your fabric, not simply the physical edge of the ruler.
Tiny adjustment. Much more dependable measurements.
Why some rulers do this
On many acrylic rulers the grid is printed or etched separately from the cut edge, and some makers deliberately set the zero line a hair inside that edge so the line doesn’t chip or wear away where your rotary cutter runs. Other rulers put zero right on the edge so the edge itself is your cutting guide. Neither is wrong, but if you switch between the two styles without checking, every strip from the inset ruler comes out a little wider than the number you read. That’s the same kind of error I talked about in The Cutting Mistake That Gets Worse With Every Block: small, invisible on one piece, and obvious by the time twelve blocks meet.
Remember,
“Close enough” isn’t always close enough. Clear markings and easy-to-see reference points make it simpler to line things up confidently, make your cut, and move on to the fun part of your project.
Explore Linda’s rulers and measuring tools made for the cutting table.
Happy Quilting!
From Corey.
Rulers with markings you can trust
If today’s check turned up a ruler you’re not sure about, browse our Quilting Rulers & Acrylic Rulers collection or the non-slip Quilters Select rulers I reach for most. And there’s a Quilters Select Ruler Sale running right now if you want to upgrade a few at once.
Frequently Asked Questions
Why is my quilting ruler measuring wrong even when I line it up carefully?
Most often it isn’t the ruler itself; it’s where the zero line sits. On some acrylic rulers the first marking is set slightly inside the physical edge, so lining up the edge with your fabric adds that gap to every cut. Find the true zero line and align that instead. If you also cut using the mat’s grid, read Are You Cutting With the Ruler or the Mat? for the other common culprit.
Where does the zero line start on a quilting ruler?
It depends on the brand. Some rulers print zero exactly on the edge so the edge doubles as your cutting guide. Others set zero a small distance inside the edge to protect the marking from rotary-cutter wear. Check each ruler you own, because two rulers in the same drawer can differ. Our guide to acrylic quilting rulers covers how to read markings on different styles.
How do I check if my ruler’s markings start at the edge?
Hold the ruler up to good light and look at the end. If the zero line and the edge are the same line, you can align by the edge. If you can see a sliver of clear acrylic before the first line, that sliver is your offset. A quick test: place two rulers zero-to-zero and see if their inch lines match. A dedicated cutting mat with a printed grid also makes the comparison easy.
Should I cut using the ruler markings or the cutting mat grid?
Use one consistent reference, and for most cuts that should be the ruler. Mat grids can be slightly off, stretch with heat, or wear down over time, which is why your cutting mat has a right side and why yardage math still starts with an accurate ruler (see Stop Guessing Your Quilt Yardage). Use the mat to square up the fabric, then measure and cut by the ruler.
What quilting ruler is best for accurate cuts?
Look for high-contrast markings, a clearly labeled zero, and a non-slip surface so the ruler doesn’t drift mid-cut. The Quilters Select 6.5" x 24" non-slip ruler is my go-to for strips, and the 10.5" square handles block squaring. Pair either with a sharp blade; a dull one pushes fabric instead of cutting it, so sharpen or swap your rotary blade when cuts start dragging.


