

Hi Bestie,
We’ve all done it.
Your stitches suddenly look a little off, so you reach for the tension dial and start turning.
Then the stitches look better. Great, fixed it.
Well… maybe.
Sometimes changing the tension simply covers up another issue, like a thread that isn’t seated quite right, a tired needle, or something going on around the bobbin.
So before you start chasing numbers on the dial, it’s worth checking a few simpler things first.
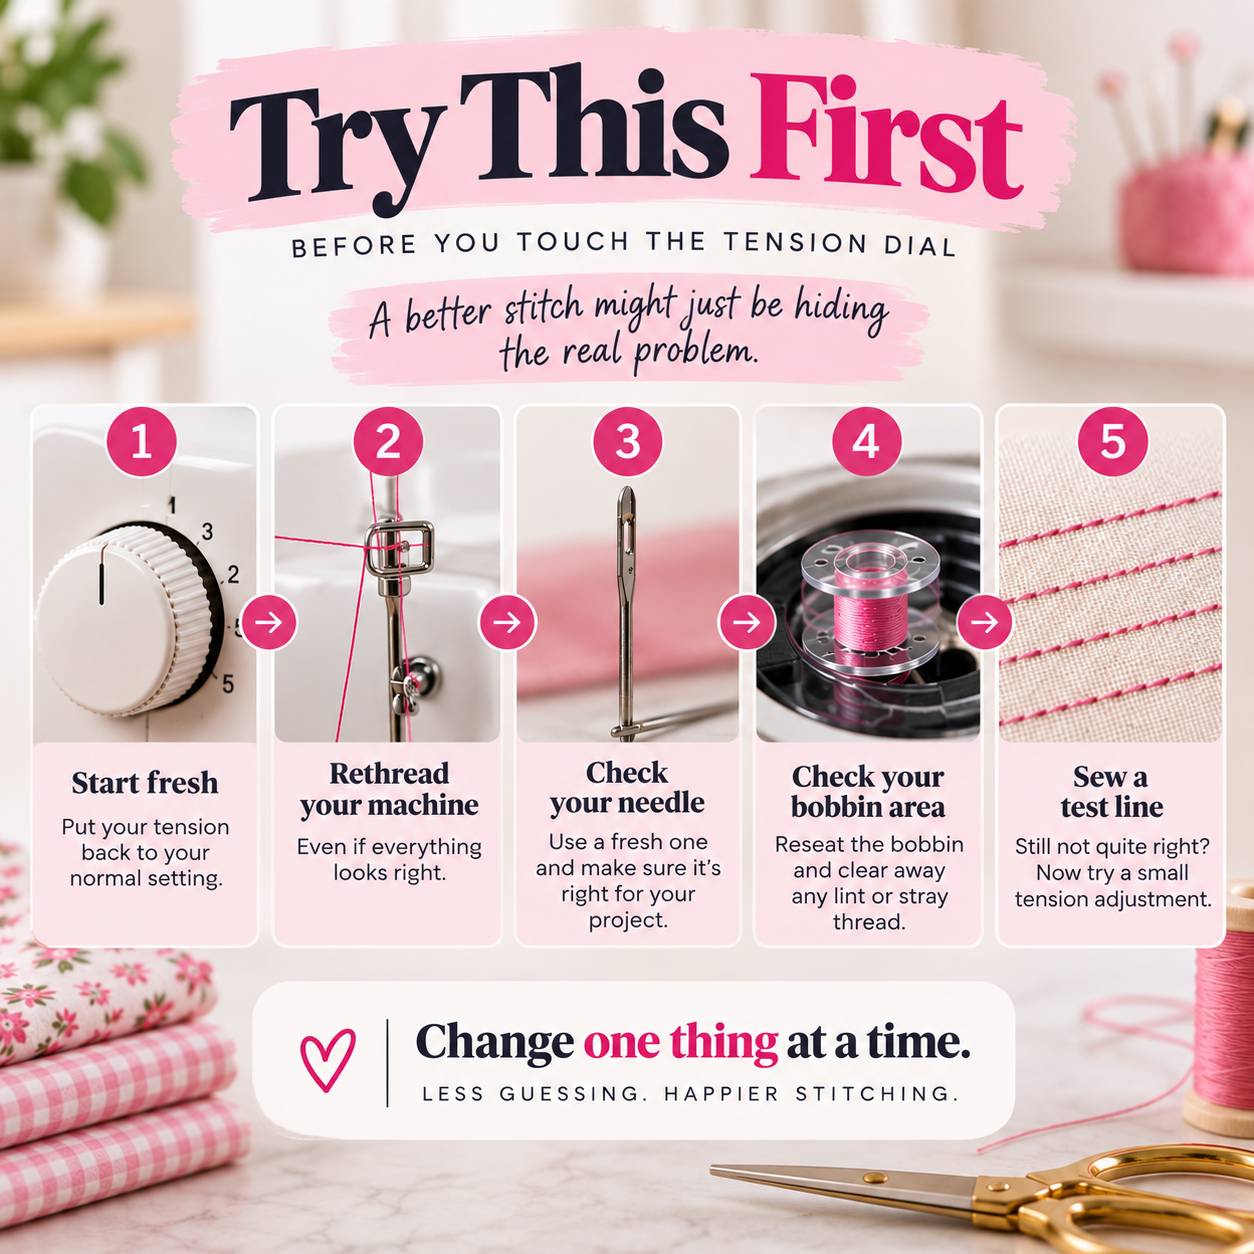
Here’s the Trick: Change One Thing at a Time
It’s tempting to rethread, swap the needle, clean the bobbin and adjust the tension all at once.
But then when your stitches look beautiful again… you have no idea what actually fixed them.
One change. One test. Then the next.
That way, you’re not just fixing today’s stitch problem, you’re getting better at understanding your machine.

Why Turning the Dial Can Hide the Real Problem
A good stitch is a tug-of-war that ends in a tie. The top thread and the bobbin thread pull against each other, and when they’re balanced, the knot where they lock sits hidden between your layers.
Here’s the catch: the tension dial isn’t the only thing pulling on that thread. If the top thread slipped out of the tension discs or skipped a guide, there’s less drag than there should be. A burred or bent needle adds drag and shreds thread. Lint packed under the bobbin case spring quietly changes your bobbin tension. Every one of those shifts the balance.
When you turn the dial, you’re not fixing that cause, you’re counterbalancing it. The stitch looks better, but now two things are off in opposite directions. And the day you finally change that needle or brush out the bobbin area, the balance tips the other way and the “mystery” problem comes right back.
That’s why starting from your normal setting and checking thread, needle and bobbin first works so well. If you want the whole checklist, I walked through it in Before You Rethread Your Machine…, and The Hidden Reason Your Machine Isn’t Sewing Like It Used To covers the build-up that sneaks in over time.
Remember,
A prettier stitch doesn’t always mean you found the problem. Start with the simple stuff, change one thing at a time, and give your machine a chance to tell you what’s actually going on. A little patience now can save you a whole lot of tension, the sewing kind and the other kind.
Happy Quilting!
From Corey.
Stocking up on batting for your next quilt? The Warm Company’s cotton battings are on sale now.

Shop The Warm Company Batting →
Frequently Asked Questions
Why do my stitches still look bad after I adjust the tension?
Because the tension dial often isn’t the cause. Mis-seated thread, a dull or damaged needle, or lint in the bobbin area all change how much drag is on the thread. Adjusting the dial only counterbalances that problem. Reset the dial to your normal setting and check threading, needle and bobbin first. Our guide to sewing machine tension settings explains what “normal” should look like.
What should I check before changing my sewing machine tension?
Work through five steps, one at a time: put the tension back to your usual setting, rethread the machine with the presser foot up so the thread seats in the tension discs, put in a fresh needle that’s right for your project, clean and reseat the bobbin, then sew a test line. Only if the stitch is still off should you make a small tension adjustment.
How can I tell whether top tension or bobbin tension is the problem?
Look at both sides of your test line. If the bobbin thread is being pulled up to the top, the top tension is too tight or the bobbin is too loose. If the top thread is looping or showing on the back, the top tension is too loose, and very often the top thread simply isn’t seated in the tension discs. For the bobbin side, see how to adjust bobbin tension; longarm quilters can learn more in our Towa bobbin case guide.
Can a dull or wrong needle cause tension problems?
Yes. A needle with a burr, a slight bend, or the wrong size for your thread adds friction, causes skipped stitches and shreds thread, which looks exactly like a tension problem. Changing the needle is one of the cheapest fixes to try first. What Do Those Needle Numbers Actually Mean? helps you match needle to thread, and longarm quilters can check our Groz-Beckert longarm needle guide.
How often should I clean the bobbin area of my sewing machine?
A quick brush-out every few bobbin changes is a good habit, and always after projects that shed a lot of lint, like flannel, minky or cotton batting. Lint packed under the bobbin case can change your bobbin tension without you touching a thing. Our sewing machine cleaning guide walks through it, and you’ll find brushes and tools in our machine maintenance collection.


