

Hi Bestie,
We’ve all been there.
You line up two curved pieces.
They don’t look like they belong together.
So naturally, you reach for the pins.
One at the beginning.
One at the end.
One in the middle.
And then…
Well, maybe another here.
And another there.
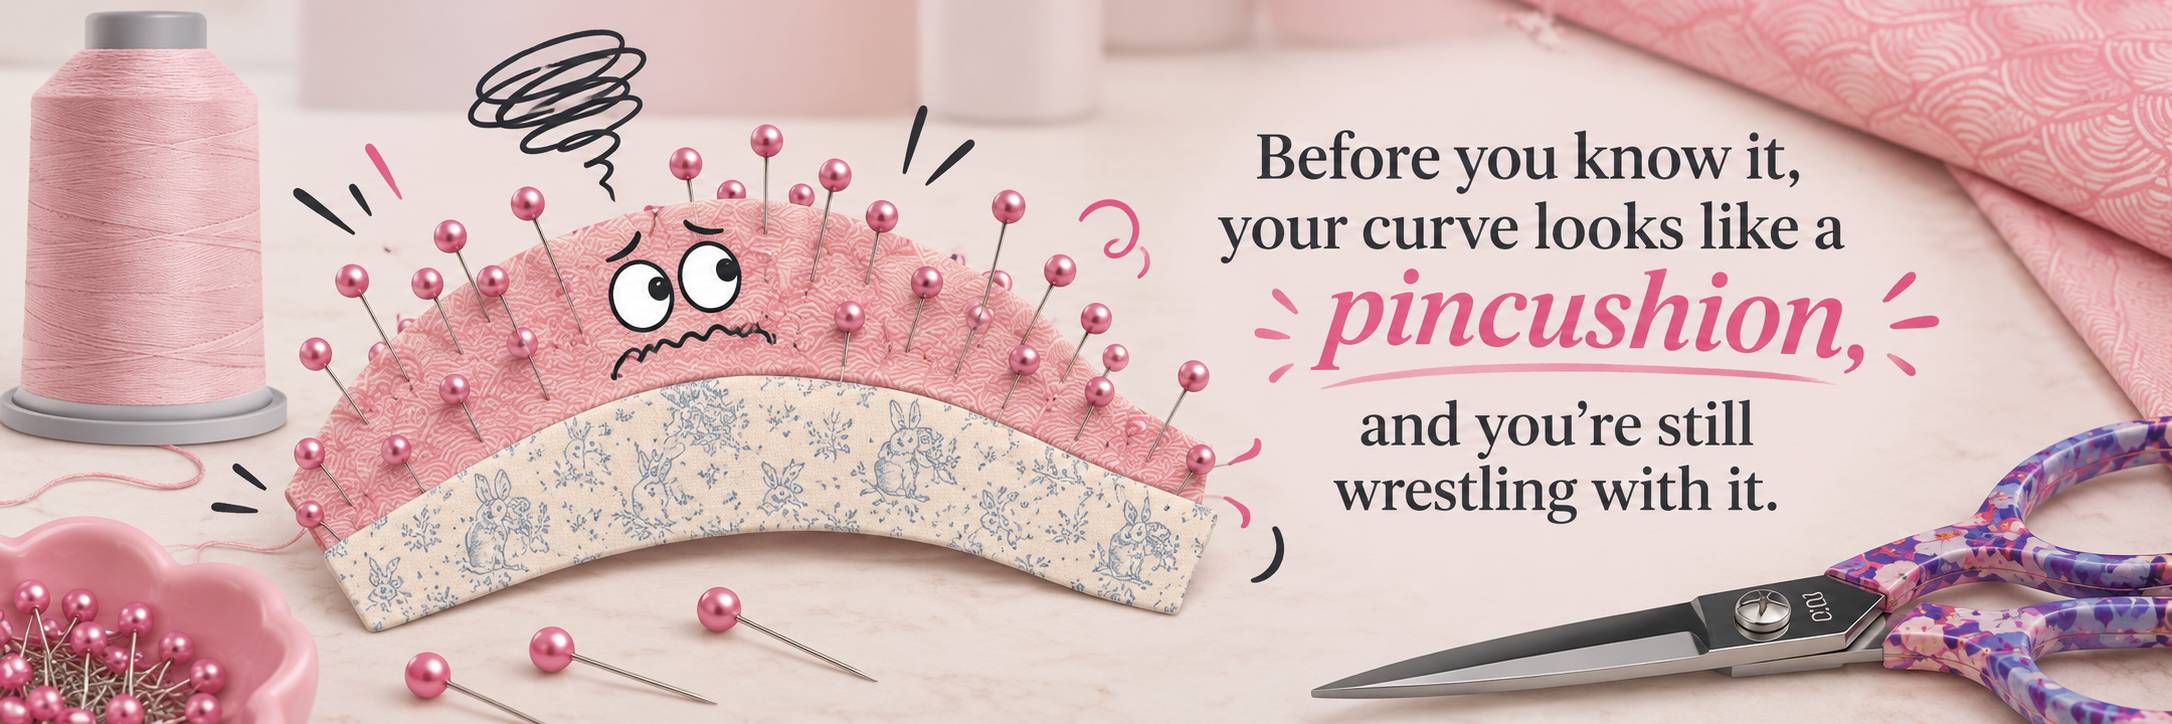
Before you know it, your curve looks like a pincushion, and you’re still wrestling with it.
The Problem?
You may be trying to make the fabric behave before it actually needs to.
Curved piecing becomes much less intimidating when you stop expecting the entire seam to line up perfectly at once.
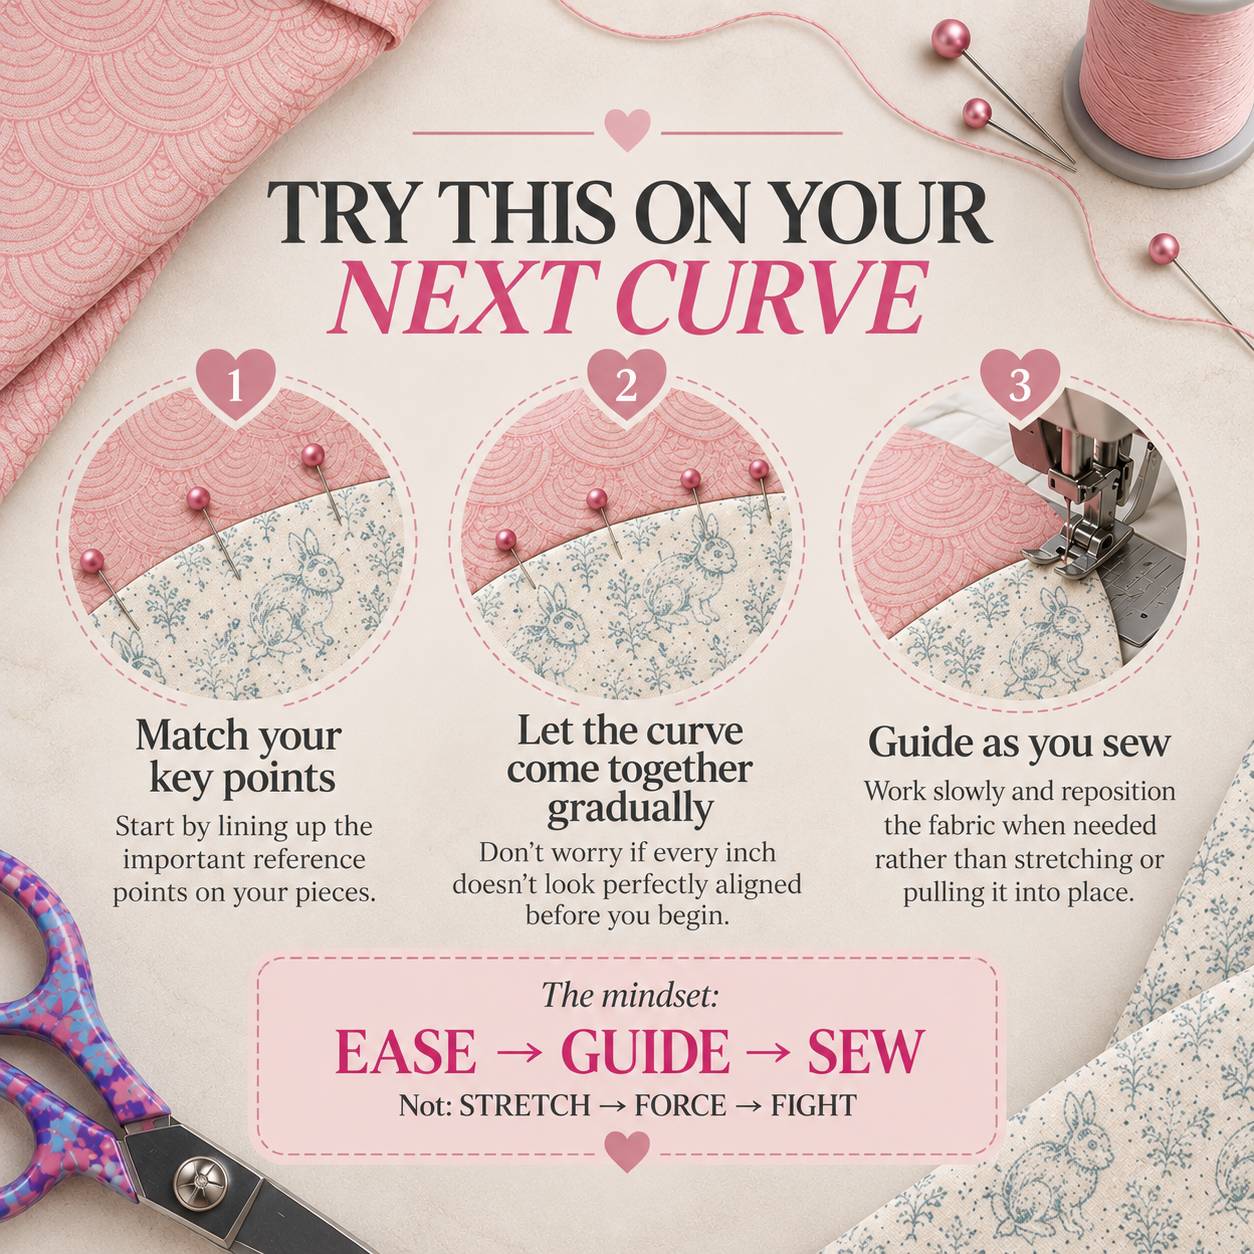
Instead, secure your important points and concentrate on the few inches immediately in front of your needle.
Guide those together.
Sew.
Then move on to the next little section.
Why Curved Pieces Never Look Like They Fit
Here’s the part nobody tells you: they’re not supposed to look like they fit before you sew them.
On a curved block like a Drunkard’s Path, the inward (concave) piece and the outward (convex) piece have raw edges of different lengths. They only match up along the seam line, a quarter inch in. So when you lay them edge to edge, one will always look too short and the other too long.
On top of that, most of a curved edge is cut on the bias, which means it stretches. That stretch is your friend. It’s what lets the fabric ease into place as you sew.
When you pin every inch, you lock the fabric in its “doesn’t fit” position before it ever gets the chance to ease. That’s where the puckers, tucks and wobbly seams come from. A few pins at the key points (center and both ends) hold what matters, and your hands handle the rest a little at a time.
It’s the same idea we talked about in Those Seams Are Fighting You and Why Did Your Straight Strip Turn Into a “V”?: forcing fabric always shows up later in the quilt.
Remember,
A smooth curve comes from managing the small section in front of your needle, not controlling the entire seam at once. Give the fabric room to ease into position, pause whenever it starts to resist, and realign before continuing.
Happy Quilting!
From Corey.

Ready for your next curved project? Shop Moda Fabrics for quilting cottons that ease beautifully, and stock up on pins and piecing tools in our Notions collection.
Frequently Asked Questions
How many pins do I need for curved piecing?
Usually just three: one at the center of the curve and one at each end. Those mark your key matching points. On a longer curve you can add one between each, but the goal is to hold the key points, not the whole edge. Thin, sharp quilting pins work well, and some quilters prefer magnetic pins like the ones in our SewTites Magnum guide because they hold without piercing the fabric.
Why don’t my curved quilt pieces line up before I sew them?
Because they aren’t supposed to. The concave and convex pieces have raw edges of different lengths and only match along the quarter-inch seam line. The bias stretch in the curve lets them ease together as you sew. If you’re new to curves, a template system like the one in our Dot to Dot Curves guide takes the guesswork out of cutting matching pieces.
Should the concave or convex piece be on top when sewing a curve?
Most quilters put the concave piece (the one with the inward curve) on top and the convex piece underneath. That lets you see and guide the top fabric as it eases around the curve, a few inches at a time, while the feed dogs help with the bottom layer. Sew slowly, stop with the needle down, lift the presser foot, realign, and continue.
Do I need to clip curved seams in quilting?
Gentle curves often don’t need clipping at all. On tighter curves, a few small clips in the concave piece’s seam allowance can help it spread and lie flat. Keep the clips short so they stop well before your stitching line. And if a curve does go wrong, unpick that small section and try again. As we said in Your Seam Ripper Isn’t a Sign of Failure, that’s just part of the process.
How do I press a curved seam without stretching it?
Press, don’t iron. Lift and set the iron down instead of sliding it, because sliding drags the bias edges out of shape. Most curved seams are pressed toward the concave piece unless your pattern says otherwise. For more on keeping seams flat without overworking them, read Are You Pressing Your Seams TOO Much? and, for basting the finished top, Spray Basting vs. Pin Basting.


